-
Services
ServicesCNC Machining ServiceDie casting serviceSheet Metal FabricationSurface service
CNC Machining Guide
Here we summarize a lot of various processing problems encountered in the CNC machining process, you can learn a lot of machining skills about part forming here
Related LinksNew!
GD&T For Injection Molding
We've added GD&T to our in-house first article inspections (FAIs) and process capability studies to give you an even more complete set of dimensional verification options.
Related LinksSurface treatment skills
Researched the surface treatment process of magnesium alloy products, including the salt spray test and adhesion research on the surface, mainly to make the product more adaptable to the environment
Related LinksSheet metal precision points
To ensure the accuracy of processing, both from the operator and from the processing method. Only in this way can ensure the final processing quality and effect.
-
Materials
You can provide, I will make
We show only part of the material, if you need other types of material machining, you can directly contact our person in charge
-
Resources
Technology Precipitation
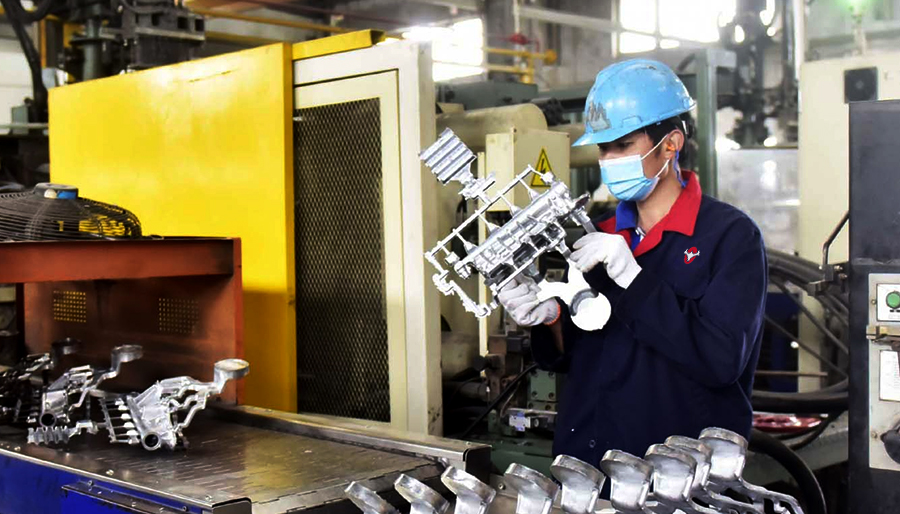
We outline over a decade of machining experience in magnesium alloy cnc machining, die casting, and various skills and techniques -
About Us
About Us
Contact Us
Cyanbat technology co., ltd.
Shenzhen Guangming District
Changxing Technology Garden
Postal Code: 518132
call:+86 18194014169
E: cyanbat88@gmail.comBest-in-Class Online Quoting
CYANBAT is a manufacturer of prototypes of products for the military, aviation, and marine industries, and is a one-stop manufacturing enterprise


